Bolt on vs QR
 06-01-18, 09:13 AM
#1
Very Slow Rider
Thread Starter

Join Date: Jul 2017
Location: E Wa
Posts: 1,274
Bikes: Jones Plus LWB, 1983 Centurion Japanese CrMo bike
Liked 132 Times
in
101 Posts
Bolt on vs QR
I have had both QR and bolt on rear axles on my SS bikes. I do not love QR compared to bolt on; I have no problem packing around a compact 15mm in case of flats. Am I alone in my thinking?

 06-01-18, 10:19 AM
#3
~>~
It's not 1935 anymore, Tullio's patent provides quick (hence the name) reliable positive wheel retention w/o the need for any tools.
Very handy for road machines of any drive-train flavor except the IGH.
-Bandera
Very handy for road machines of any drive-train flavor except the IGH.
-Bandera
06-01-18, 10:53 AM
#4
Senior Member
Join Date: Feb 2014
Location: SD
Posts: 2,745
Bikes: Handsome Fredward, Trek 1.1
Liked 131 Times
in
47 Posts
Bolts/nuts make it easier to square up the rear wheel in track ends IMO. I much prefer allen bolts to 15mm nuts however. On the front it makes no difference to me. Case in point I built wheels with a bolted rear and QR front for my SSCX bike.
06-01-18, 11:24 AM
#5


Fresh Garbage

I don't see a difference between my FG and any of my other road bikes. QR is just convenient.
It's nice to not have to whip out a wrench to lock up my bike. It's nice to not whip out a wrench to remove the front wheel to get the bike in the trunk of my car or my on my roof rack. My current bike has loose ball rear hub so I might go and make it a QR one day for ****s and giggles.
It's nice to not have to whip out a wrench to lock up my bike. It's nice to not whip out a wrench to remove the front wheel to get the bike in the trunk of my car or my on my roof rack. My current bike has loose ball rear hub so I might go and make it a QR one day for ****s and giggles.
06-01-18, 11:59 AM
#6

Not actually Tmonk

Join Date: Jun 2007
Location: San Diego, CA
Posts: 15,075
Bikes: road, track, mtb
Liked 3,883 Times
in
2,030 Posts
front wheel QR, rear bolt for me
__________________
"Your beauty is an aeroplane;
so high, my heart cannot bear the strain." -A.C. Jobim, Triste
"Your beauty is an aeroplane;
so high, my heart cannot bear the strain." -A.C. Jobim, Triste
 06-01-18, 01:24 PM
#8
Very Slow Rider
Thread Starter
Join Date: Jul 2017
Location: E Wa
Posts: 1,274
Bikes: Jones Plus LWB, 1983 Centurion Japanese CrMo bike
Liked 132 Times
in
101 Posts
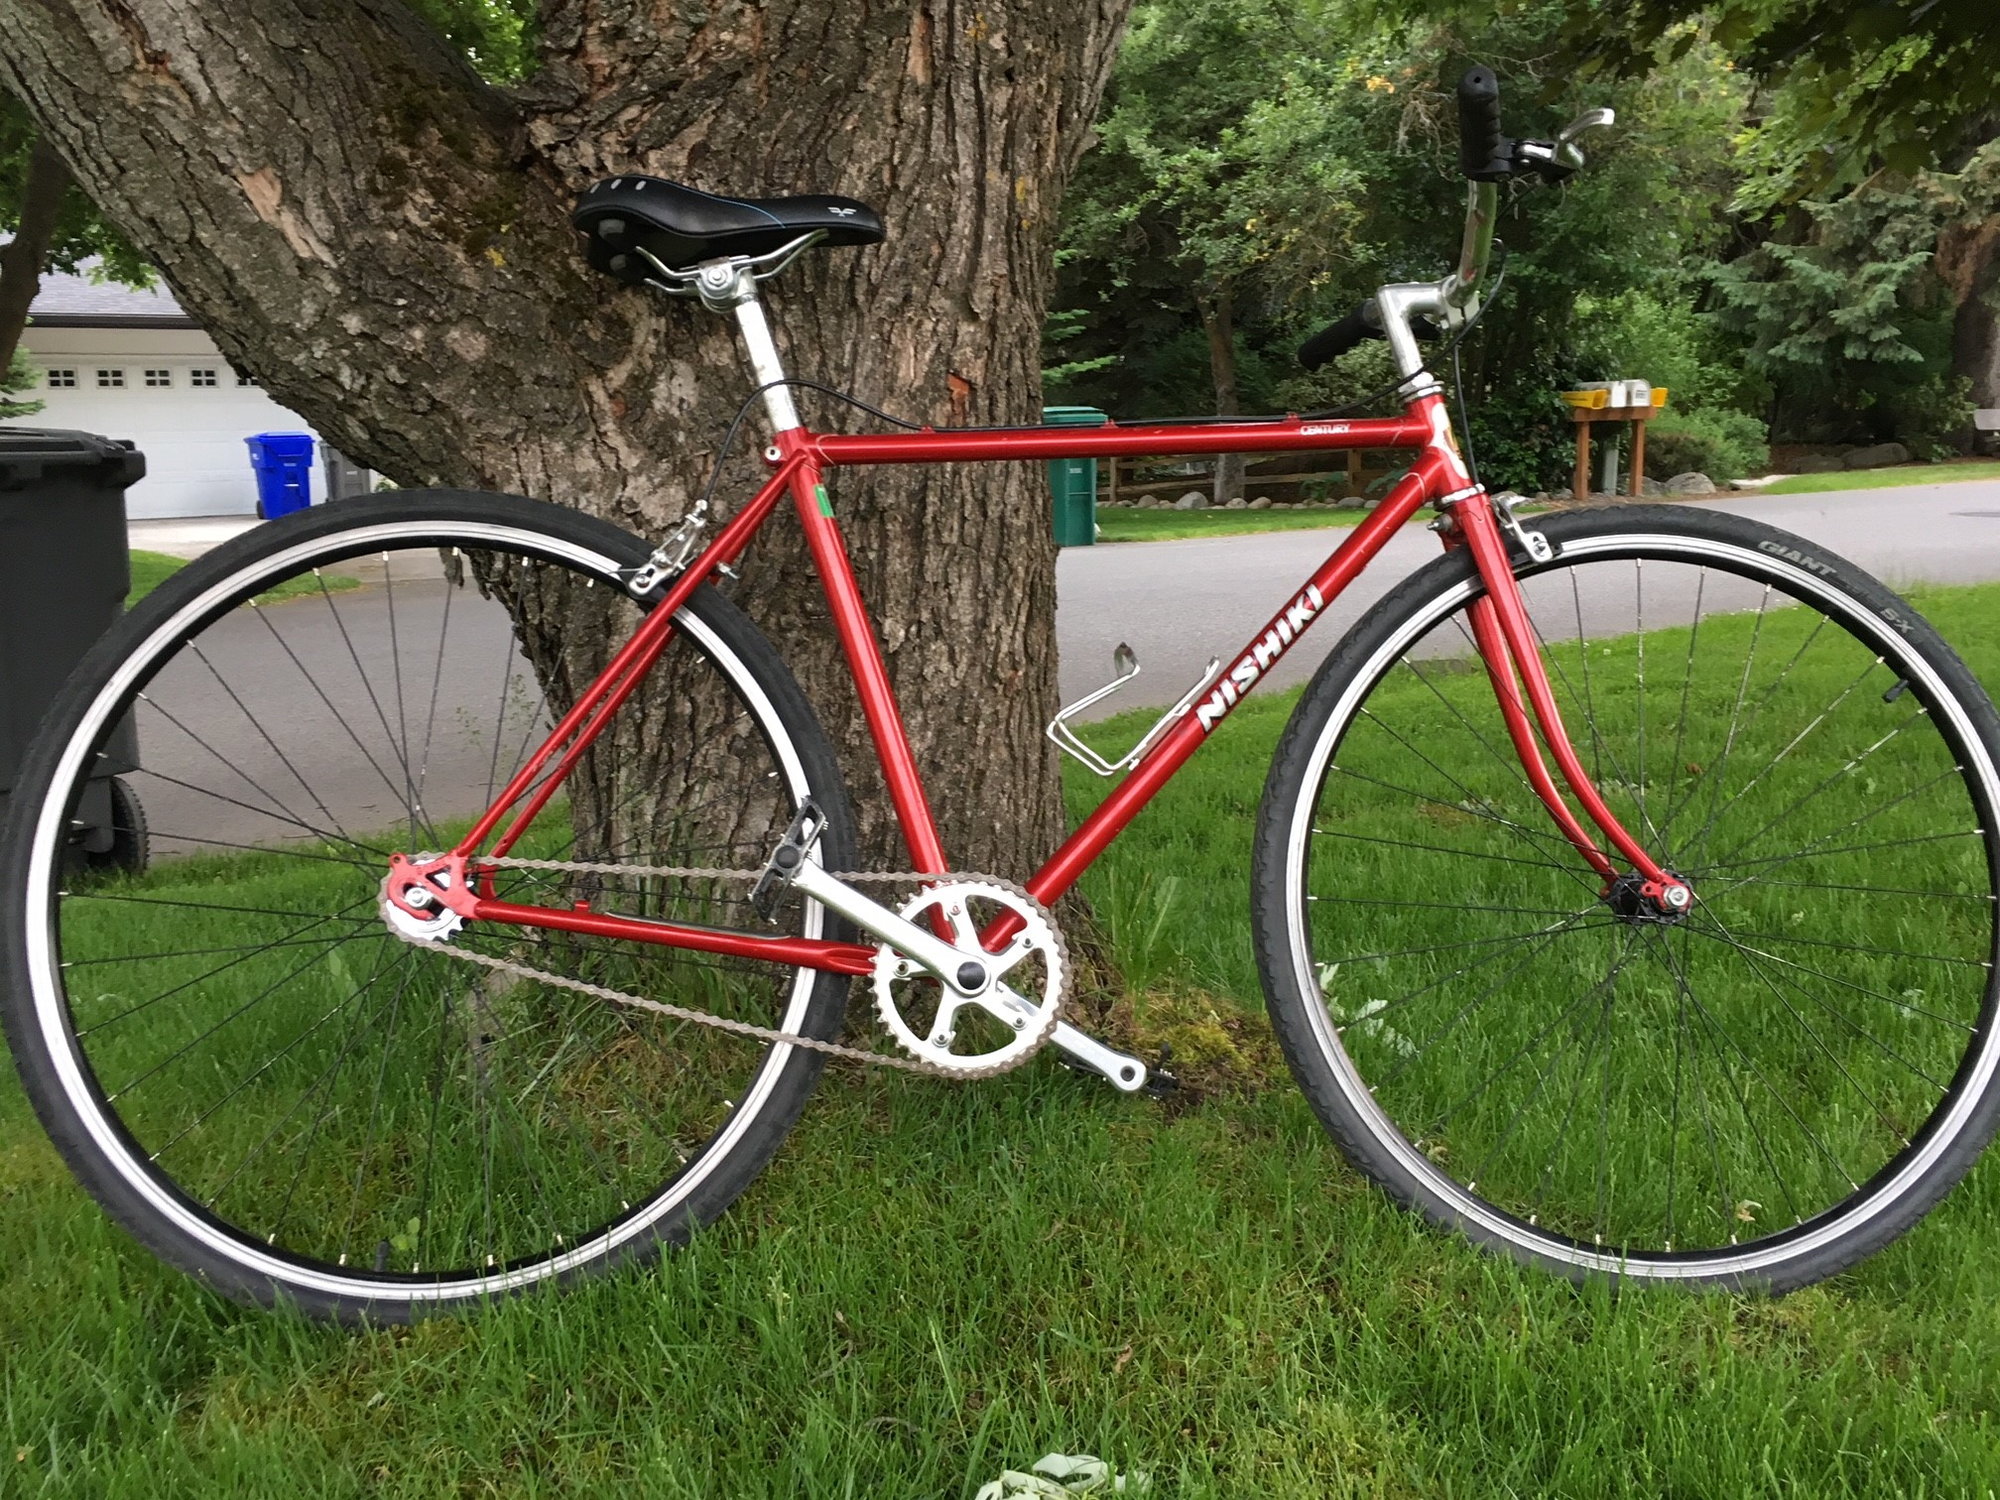 The red bike I deliberately changed back to bolt on front and rear; this bike is the one I use to tool around with the kids and trips to the library so it's very lockable now (esp. since it's a $10 bike).
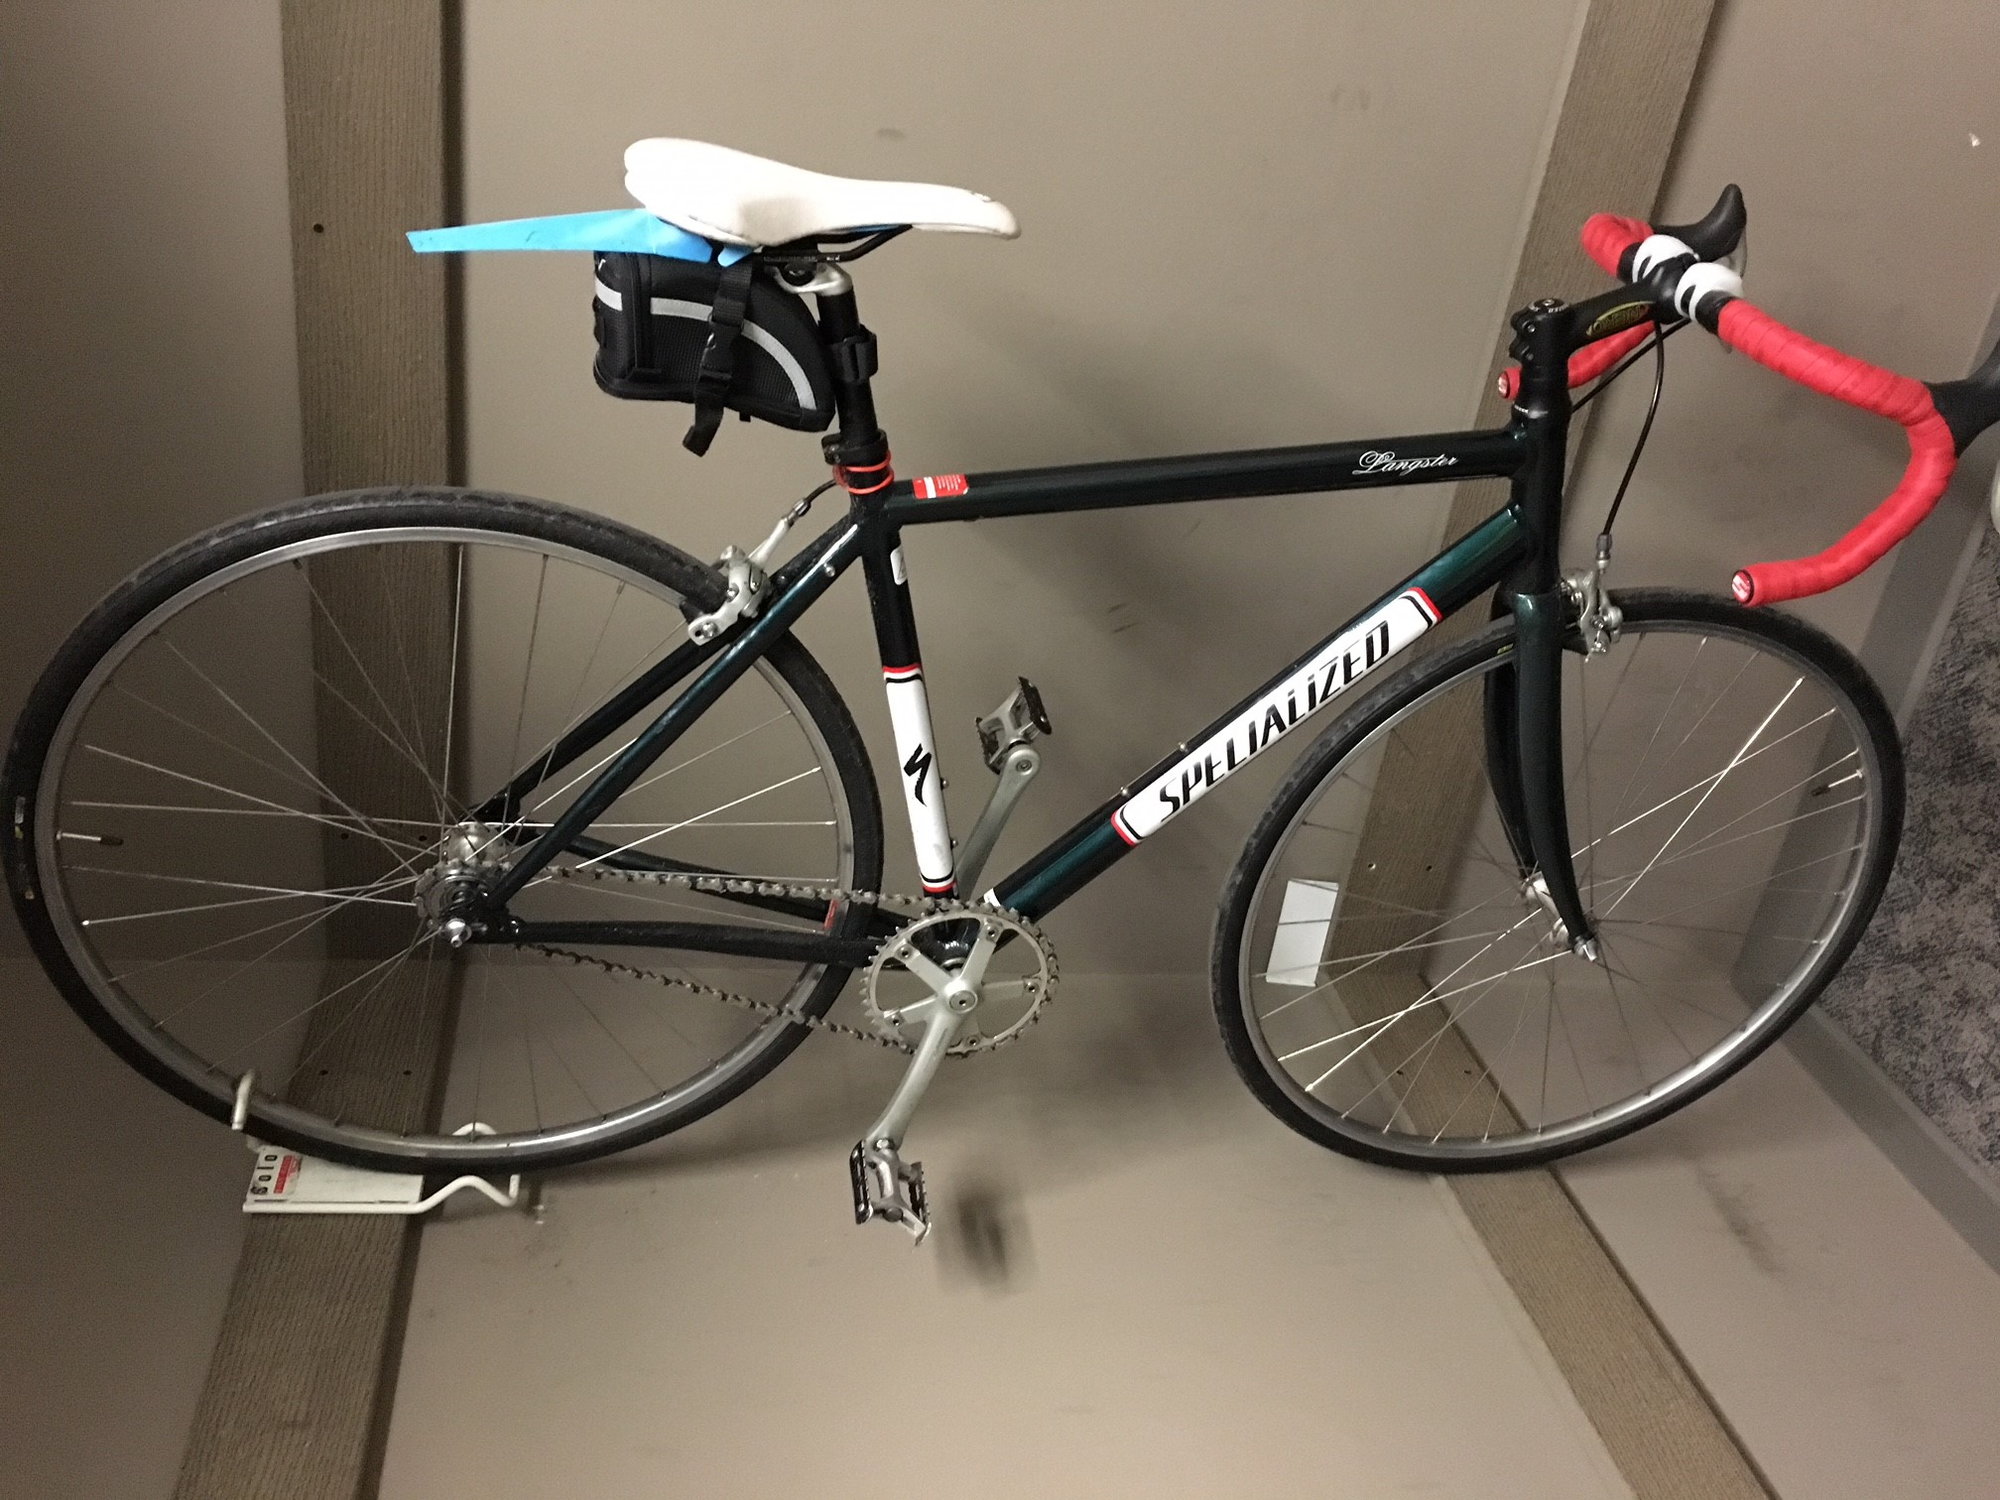
The bike below w/ the drop bars is my commuter. Was thinking I would change out the rear axle this winter.
 06-01-18, 01:36 PM
#9
Senior Member
Join Date: Oct 2014
Location: Portland, OR
Posts: 13,332
Bikes: (2) ti TiCycles, 2007 w/ triple and 2011 fixed, 1979 Peter Mooney, ~1983 Trek 420 now fixed and ~1973 Raleigh Carlton Competition gravel grinder
Liked 4,335 Times
in
2,790 Posts
Another QR front, bolt-on rear here. Bolt-on makes dialing in the chain slack really simple. Yes, typically two or three adjusts are requires, but it is brain dead easy. (Brain dead like the state of mind at the top of a 1000' climb when you flip the wheel to the big gear to go back down. Nice to know you got the chain slack right!)
Ben
Ben
06-01-18, 01:45 PM
#11
Senior Member
Join Date: Oct 2014
Location: Portland, OR
Posts: 13,332
Bikes: (2) ti TiCycles, 2007 w/ triple and 2011 fixed, 1979 Peter Mooney, ~1983 Trek 420 now fixed and ~1973 Raleigh Carlton Competition gravel grinder
Liked 4,335 Times
in
2,790 Posts
06-01-18, 02:06 PM
#13
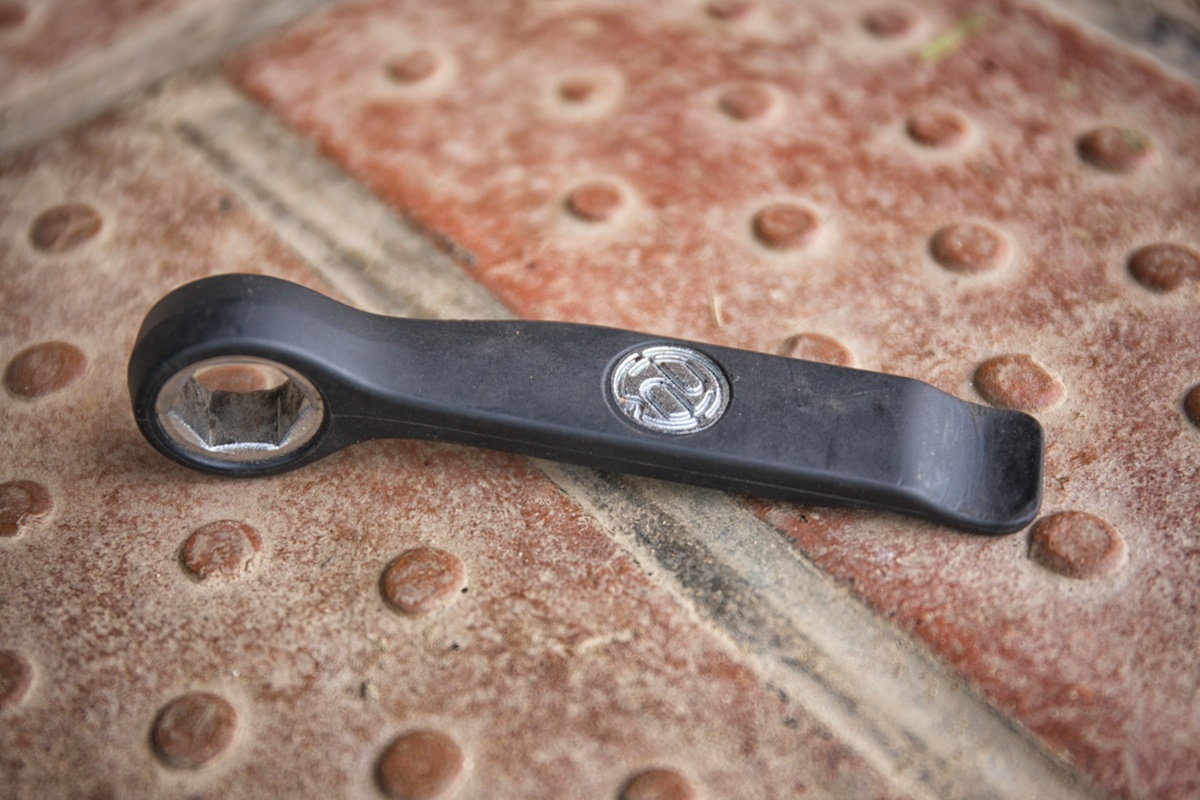
I just picked up this tiny 15mm wrench. $7 and it's shorter than the rolled-up tube I carry in my saddle bag.
06-01-18, 02:12 PM
#14
Very Slow Rider
Thread Starter
Join Date: Jul 2017
Location: E Wa
Posts: 1,274
Bikes: Jones Plus LWB, 1983 Centurion Japanese CrMo bike
Liked 132 Times
in
101 Posts
Another QR front, bolt-on rear here. Bolt-on makes dialing in the chain slack really simple. Yes, typically two or three adjusts are requires, but it is brain dead easy. (Brain dead like the state of mind at the top of a 1000' climb when you flip the wheel to the big gear to go back down. Nice to know you got the chain slack right!)
Ben
Ben
By 2-3 adjustments you mean tighten drive side, walk back and tighten non-drive side (2 steps) repeat if necessary, correct?
Just making sure I wasn't doing it wrong (2 steps, good tension, wheel centered) on the red bike which JUST got put together by me (see my signature)
06-01-18, 02:21 PM
#15
Senior Member

Join Date: Sep 2009
Location: PHL
Posts: 9,948
Bikes: Litespeed Catalyst, IRO Rob Roy, All City Big Block
Liked 400 Times
in
196 Posts
I usually get mine set without needing to adjust. I just put my fingers between the tire and seat tube, to push the wheel back and hold it in place, tighten the drive side nut, then tighten the non-drive side nut. Exception, as noted above, is when I'm brain-dead after a hard session and can't remember how to use my hands.
06-01-18, 02:23 PM
#16
Senior Member

Join Date: Apr 2016
Location: Traveling through time, will return last week.
Posts: 730
Bikes: Bare Rum Sword Knuckle Runner
Liked 122 Times
in
64 Posts
I don't think I'd use one on the rear since I mainly ride brakeless. I prefer bolt on even for the front. Doesn't take that much longer to remove the wheel and it's cleaner looking, more secure, as well as providing slight theft deterrence if running in somewhere and only locking frame/rear wheel.
06-01-18, 03:23 PM
#17
tumbleweed

I'll be using a 15mm wrench for my fixed gear bikes. I really dont trust them on my old
mtb (q. r. )but they are there so thats that. My wrench is in my backpack with all the rest of my
fixed , flat stuff so its really not a biggie
mtb (q. r. )but they are there so thats that. My wrench is in my backpack with all the rest of my
fixed , flat stuff so its really not a biggie
06-01-18, 05:50 PM
#18
Senior Member
Join Date: Oct 2014
Location: Portland, OR
Posts: 13,332
Bikes: (2) ti TiCycles, 2007 w/ triple and 2011 fixed, 1979 Peter Mooney, ~1983 Trek 420 now fixed and ~1973 Raleigh Carlton Competition gravel grinder
Liked 4,335 Times
in
2,790 Posts
YEP! and makes adjusting the locknut pressure on the bearings easier too!!
By 2-3 adjustments you mean tighten drive side, walk back and tighten non-drive side (2 steps) repeat if necessary, correct?
Just making sure I wasn't doing it wrong (2 steps, good tension, wheel centered) on the red bike which JUST got put together by me (see my signature)
By 2-3 adjustments you mean tighten drive side, walk back and tighten non-drive side (2 steps) repeat if necessary, correct?
Just making sure I wasn't doing it wrong (2 steps, good tension, wheel centered) on the red bike which JUST got put together by me (see my signature)
Now I have adjustment screws on my winter bike's dropouts. That one is really easy. Wheel back and to the left until it hits, Tighten the left, rock back until the right makes contact and tighten.
Ben
06-01-18, 06:00 PM
#19
working on my sandal tan

Join Date: Aug 2011
Location: CID
Posts: 22,670
Bikes: 1991 Bianchi Eros, 1964 Armstrong, 1988 Diamondback Ascent, 1988 Bianchi Premio, 1987 Bianchi Sport SX, 1980s Raleigh mixte (hers), All-City Space Horse (hers)
Liked 2,600 Times
in
1,593 Posts
 06-01-18, 06:12 PM
#20
- Soli Deo Gloria -
Join Date: Aug 2015
Location: Northwest Georgia
Posts: 14,779
Bikes: 2018 Rodriguez Custom Fixed Gear, 2017 Niner RLT 9 RDO, 2015 Bianchi Pista, 2002 Fuji Robaix
Liked 738 Times
in
469 Posts
I should have done QR instead of 15mm nuts on the front for my latest build.
06-01-18, 08:03 PM
#21
Nutted rear, Brilando clips in front. and a stubby 9/16 wrench in my saddle bag. 

06-01-18, 08:45 PM
#22
Junior Member

Join Date: May 2018
Location: Arizona, US
Posts: 10
Bikes: Brodie Remus Flat, Pure Fix
Likes: 0
Liked 0 Times
in
0 Posts
Bolt on for my current rides since that's what they came with. QR on my first single since it was converted from an old Trek 12 sp that came with QR.
I could not find wrenches that were tiny enough for my toolbag on my Pure, so I cut one in half. So far, so good. The tube holds them together and keeps them from rattling around.
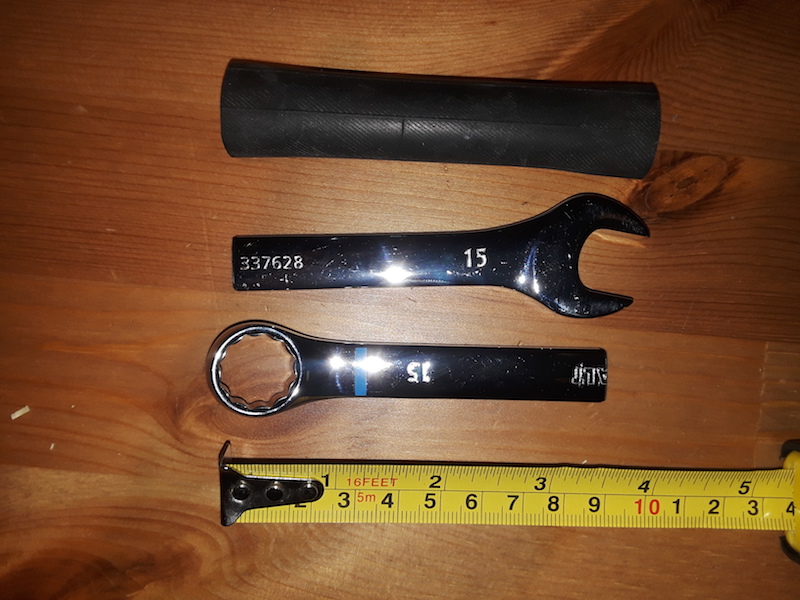
I could not find wrenches that were tiny enough for my toolbag on my Pure, so I cut one in half. So far, so good. The tube holds them together and keeps them from rattling around.
06-03-18, 04:52 PM
#25
Calamari Marionette Ph.D